

When I get around to it, I sit down and pick out all of the stems and leaves and other assorted crap that ends up in them. This is also a good time to pick out the ones that are really not ripe (usually green and really hard) or the ones that have gone well beyond ripe and have turned into hard little prunes. They will almost always have that white film on them - I'm not sure what it is exactly, but from the research that I've done it appears to be harmless.


Now you're saying "huh?" and I'm trying to figure out how to explain it. Let's say that the fruit is about 3" deep in your pan. Put about 2" of water in it. And then put a lid on it. Too much water makes the juice weak, and too little doesn't cook the fruit. The fruit that isn't in the water gets cooked by the steam, which is why it's important to keep the lid on it while they're cooking.


Speaking of the colander..... isn't it pretty? Anyone else have any of that antique Tupperware from the 70's that's this color? Kind of hard to tell from the picture, but this is the old orange Tupperware. Mom used this colander all of the time while I was growing up, and now it's mine. And I love it. Melted bottom and all.


This is by far the messiest part of this process, but it's also the best one for stress relief. I won't even tell you who all I was thinking of as I was using the musher to mush fruit tonight...... anyway, mush it all down. Chunks of the fruit will also go through the colander, but that's ok at this point. The pits and the skins stay in the colander, and turn into what I call "plum vomit". Seriously - look at the last picture above and tell me that it doesn't look like vomit....? It does. And the texture of it.....*shudder*
Anyway.... dump the plum vomit in the trash can. Beware though - if you're working with a lot of plums and doing a lot of juicing, the trash bag will become heavy very quickly. It's not a bad idea to double it ahead of time, just to be safe. Seriously. Trust me on that one.

Keep doing this until you have all of your plums mushed and strained. I mush and strain a little bit at a time because let's face it - I'm clumsy. If I'm going to spill, I'm only going to spill a small amount rather than the entire batch. Once I get it all strained, I usually run it through the strainer at least 2 more times, just to make sure that it's really strained - The Dude would say that I'm OCD about it, but it's just one of those things.
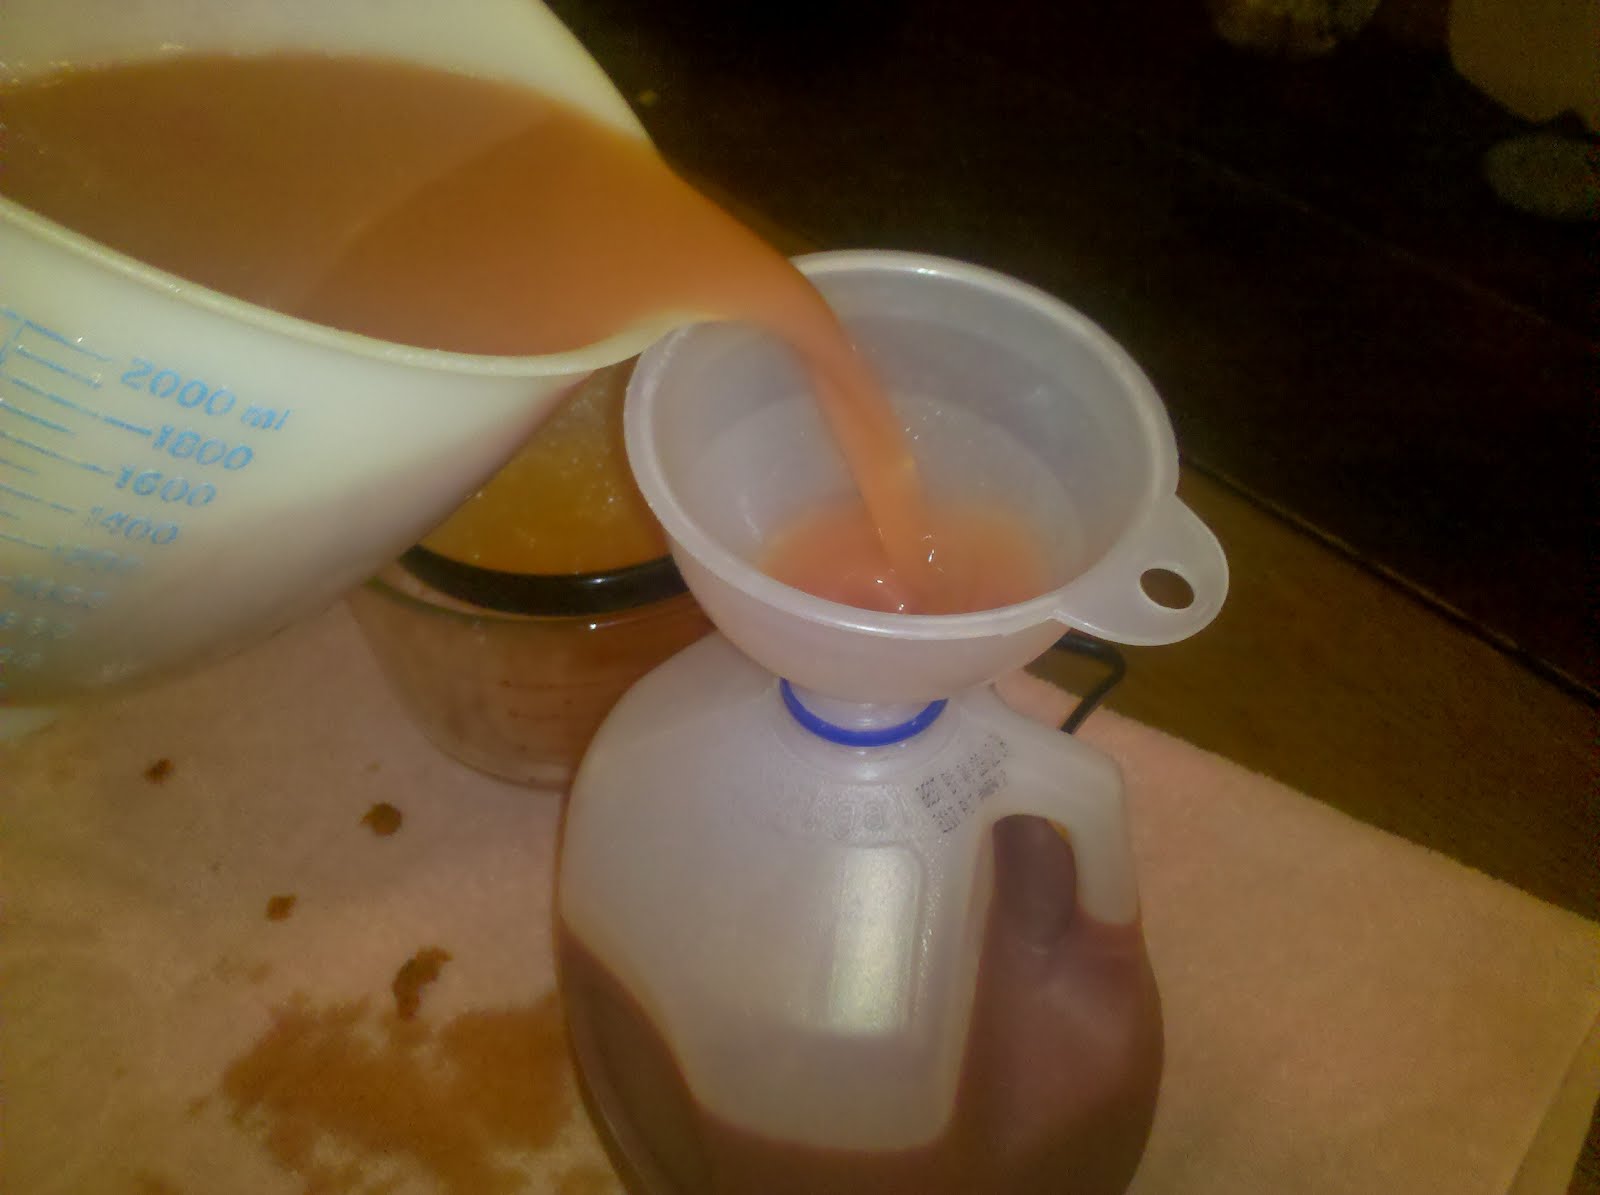
But yeah, remember how I said I'm clumsy? That's why I use the funnel. After putting this amount of work into it, I'm not spilling it. For now, I'm keeping it in empty (washed) milk jugs in the fridge.
And finally, the last step of tonight....because after being on my feet for the past couple of hours working on this, and then realizing that the reason the house is so hot is not only because of the heat from the stove but because someone's little fingers turned the air conditioning up to 84.... the last step is to dig around in the very back of the fridge and to swipe one of The Dude's beers that's been in there since his birthday in May. It's not even the right brand for me, but it's cold. And it works.

I'm planning to actually make the jelly in the next couple of days. The Dude wants to help me, so it might have to wait until Monday because of our schedules - but when we do it, we'll be sure to take pictures and post that entire process too. And then I'll link the blog posts together to make it easier for anyone who actually wants to use my instructions to do it themselves.
Stay tuned!
The rest of the instructions can now be found by clicking HERE!!!
Yum. I expect a tester jar. :) Just sayin. ;) Like I said on FB...I can only hope to one day be as domesticated as you! :P
ReplyDeleteLOL... wait, this means domestication? The Dude doesn't domesticate, man...
ReplyDeleteSorry to break it to ya, Dude......but it does, and you are. ;)
ReplyDeleteSOUNDS DELISH!!!!!!!!!!!!!!1
ReplyDeleteGRANNY